


Creative Ways to Make a Wishing Box with a Square Design and Inner Box
- oganes karayan
- Feb 22
- 3 min read

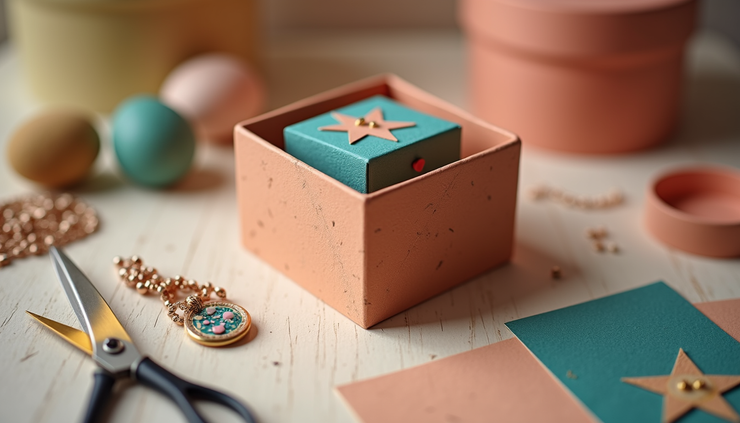
A wishing box is a charming way to collect hopes, dreams, and positive thoughts. Creating one with a square shape and a smaller box inside adds a unique twist, making it both functional and visually appealing. This design offers space to write wishes and store them safely, making it perfect for personal use or as a thoughtful gift. Here’s a step-by-step guide to help you build your own wishing box with a square design and an inner box.

Materials Needed
Before starting, gather the following materials:
Cardboard or thin wood sheets (for the box structure)
Craft knife or scissors
Ruler and pencil
Glue (wood glue or strong craft glue)
Decorative paper, paint, or fabric for covering
Small pieces of paper or cards for wishes
Optional: stickers, ribbons, markers for decoration
Using cardboard is great for beginners, while wood offers durability and a polished look.
How to Build the Outer Square Box
Measure and Cut the Pieces
Use a ruler to measure four equal squares for the sides and one square for the base. For example, if you want a 6-inch box, cut 5 6x6-inch squares.
Score the Fold Lines
If using cardboard, lightly score the edges where the sides will fold to make assembly easier.
Assemble the Sides
Glue the edges of the four side squares together to form a square frame. Let the glue dry before attaching the base.
Attach the Base
Glue the base square to the bottom of the frame. Press firmly and allow it to dry completely.
Decorate the Outer Box
Cover the box with decorative paper or paint it. You can add patterns, colors, or meaningful symbols to personalize it.
Creating the Inner Box
The inner box fits snugly inside the outer box and holds the wishes.
Measure for the Inner Box
The inner box should be about 0.5 to 1 inch smaller than the outer box on each side to fit comfortably.
Cut and Assemble
Repeat the same steps as the outer box but with smaller dimensions. Make sure the inner box has an open top for inserting wishes.
Decorate the Inner Box
Use contrasting colors or patterns to make the inner box stand out inside the outer box.
Place the Inner Box Inside
Once both boxes are dry, place the inner box inside the outer box. It should fit securely without forcing.
Adding Personal Touches
To make your wishing box truly special, consider these ideas:
Add a Slot on the Outer Box
Cut a narrow slot on the lid or one side of the outer box to drop wishes inside without opening it.
Use Inspirational Quotes
Write or print quotes about dreams and hopes on the box surfaces.
Include a Wish Journal
Attach a small notebook or stack of cards nearby for writing longer wishes or reflections.
Decorate with Natural Elements
Glue dried flowers, leaves, or small stones to the box for a rustic feel.
Use Different Textures
Combine fabric, paper, and paint to create a tactile experience.
How to Use Your Wishing Box
Daily Wishes
Write a wish or goal each day and place it inside the inner box.
Special Occasions
Use the box at birthdays, weddings, or holidays for guests to leave wishes.
Reflection Tool
Open the box after a set time to read past wishes and see progress or changes.
Gift Idea
Fill the box with wishes or positive messages for a loved one.


Comments